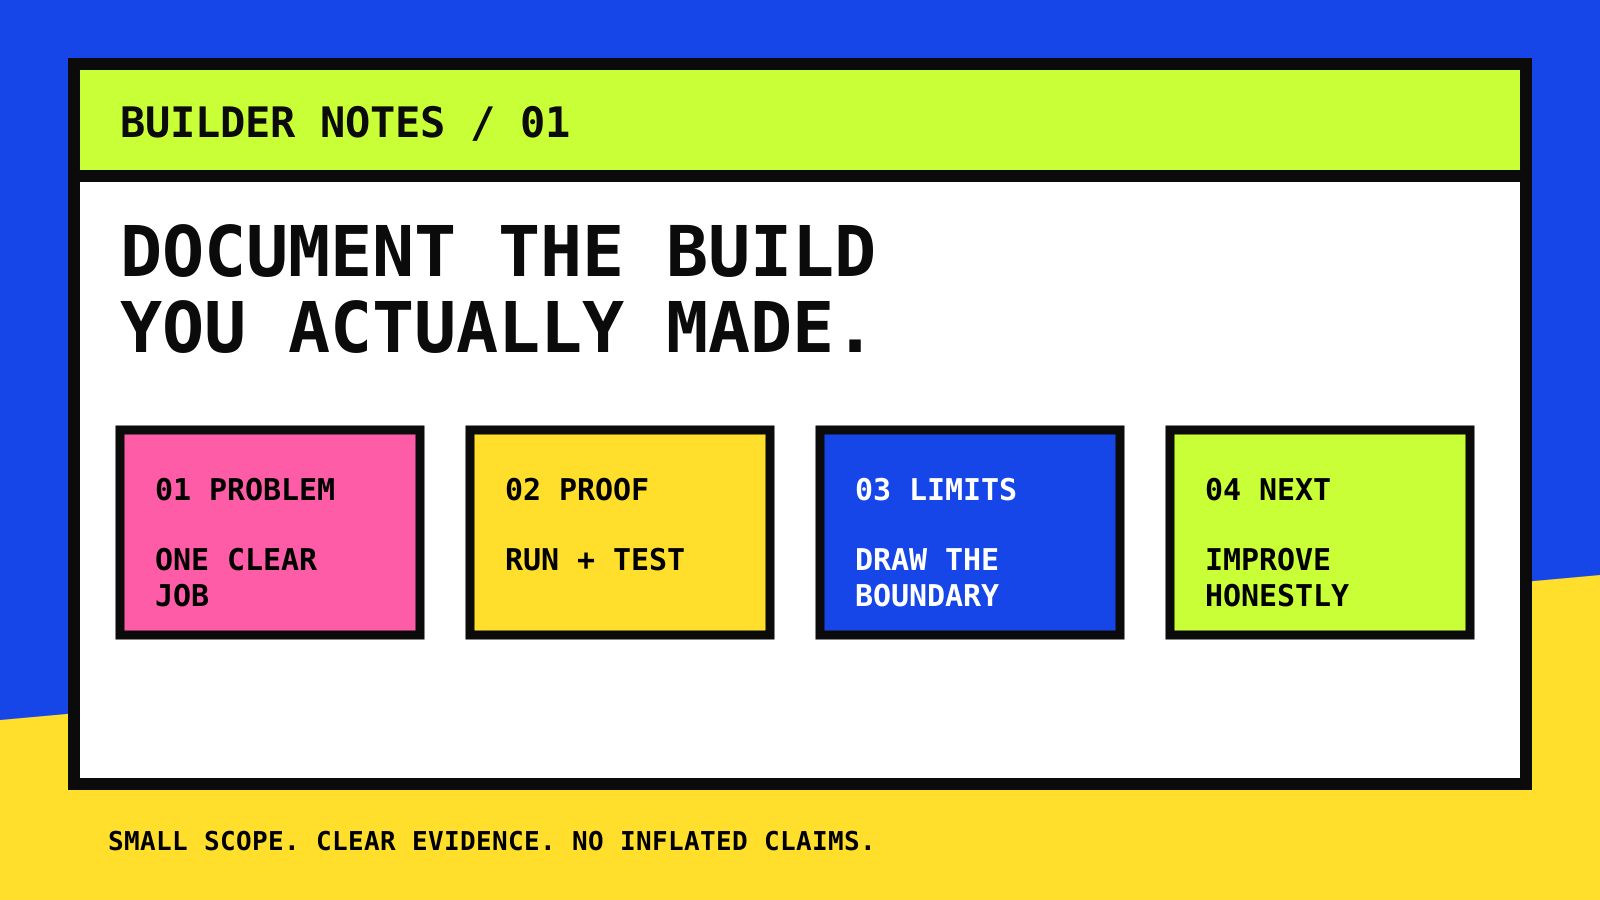
A small project does not need a big claim
A portfolio project becomes credible when a visitor can understand the problem, run the work and see evidence for the claims. Its value does not depend on calling it production-ready, enterprise-grade or complete beyond the scope that was actually built.
In my public 100 Days of Code builds, the scope stays intentionally small: one useful problem, runnable code, a concise README, and tests when the logic can be tested. That structure makes progress visible without pretending that a daily build is a finished commercial product.
Start with one sentence about the problem
Before listing tools or features, state who encounters the problem and what becomes easier after using the project. A useful sentence is specific enough to test: ‘CSV Quicklook helps someone inspect a local CSV for uneven rows and missing values before an import.’
Avoid opening with a technology list. JavaScript, Next.js or Docker describes the implementation; it does not explain why the project deserves attention.
- Name the task or decision the project supports.
- Describe the smallest useful outcome.
- Do not imply users, revenue, scale or performance you did not measure.
- Keep future plans separate from completed behavior.
Make the README a runnable handoff
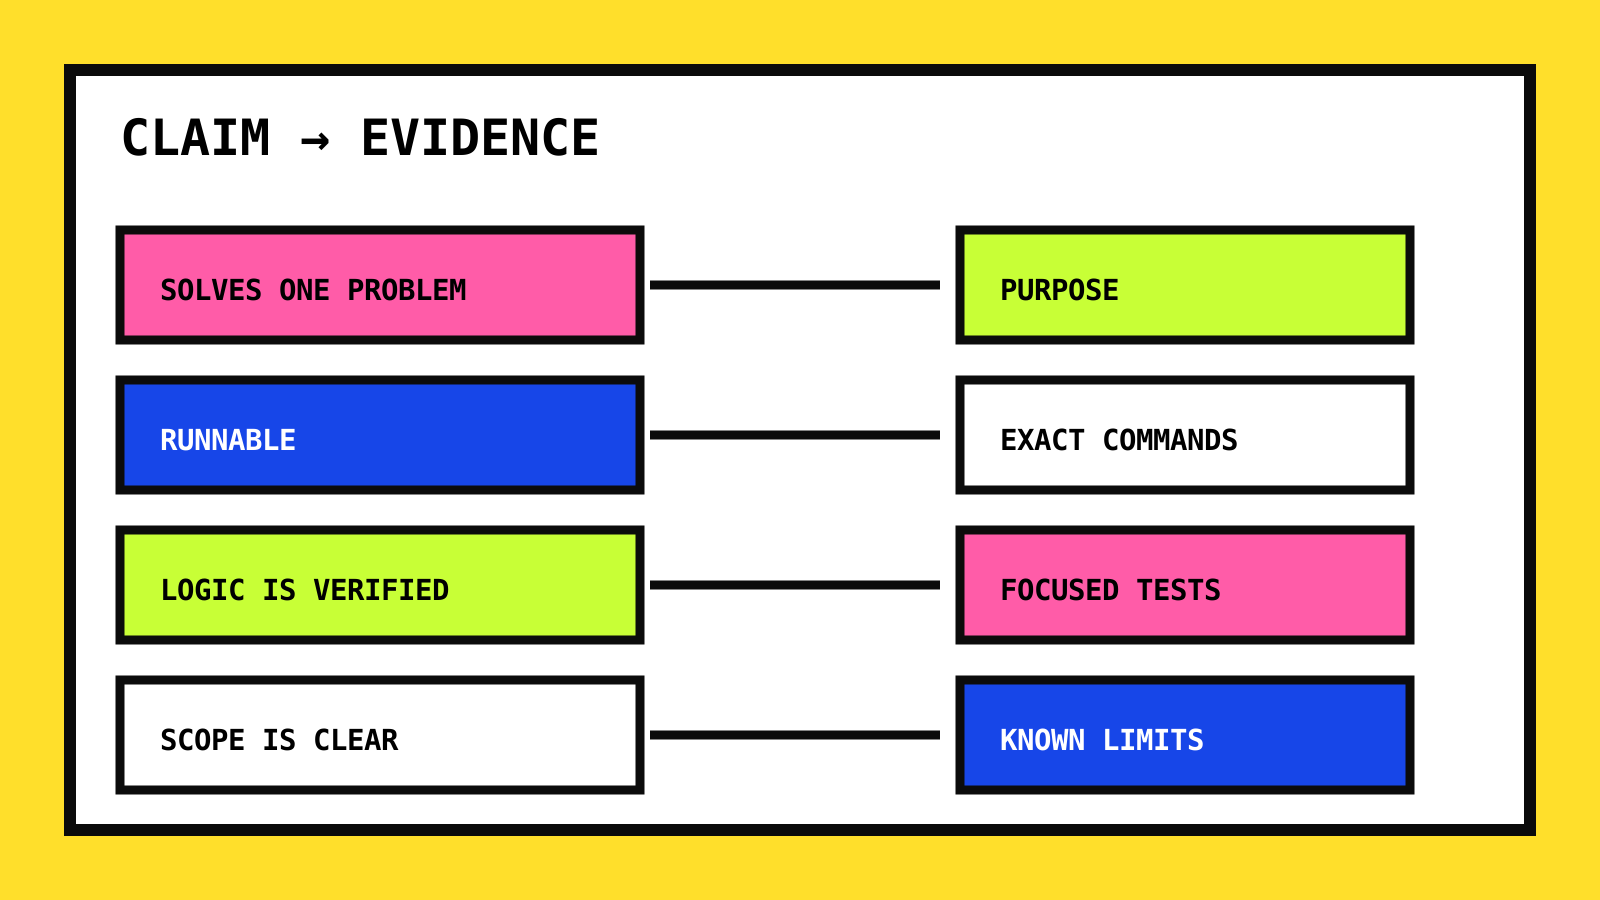
GitHub describes a repository README as the place to explain what a project does, why it is useful and how someone can get started. For a small project, that can remain compact: purpose, run steps, test steps, skills practiced and one next improvement.
Write commands exactly as they should be entered, mention the expected runtime or prerequisites, and say when no installation is required. A screenshot can help orientation, but it cannot replace working instructions.
- Purpose: the problem and intended outcome.
- Run: prerequisites, commands and local URL when relevant.
- Test: the exact command and what the checks cover.
- Skills practiced: concrete techniques, not vague qualities.
- Next improvement: one honest extension, clearly marked as future work.
Separate features, evidence and limits
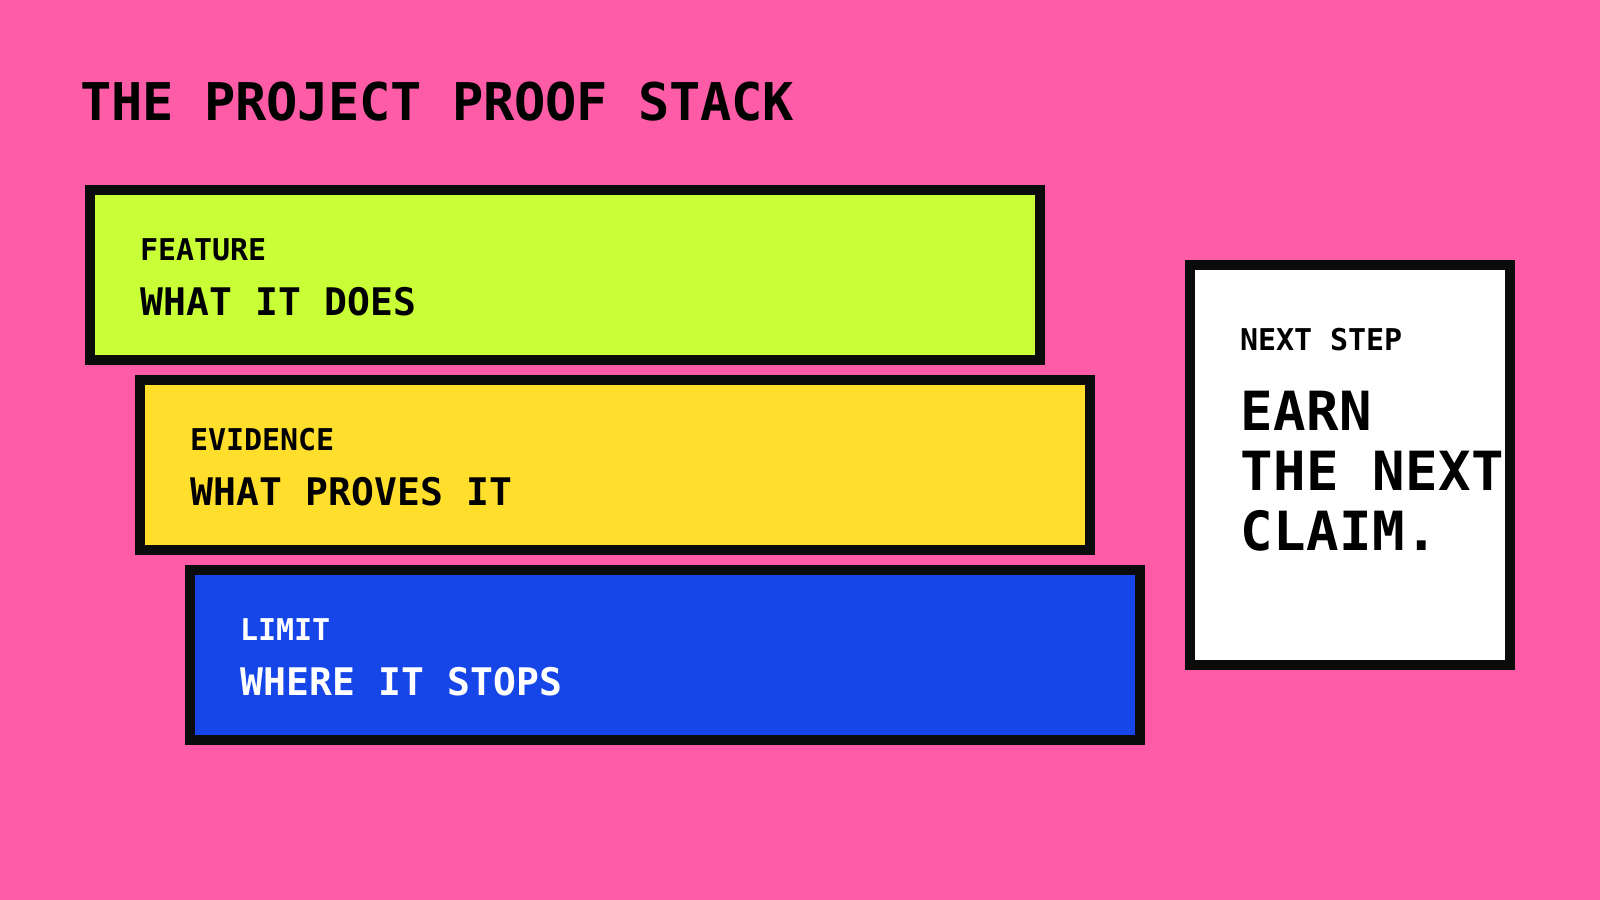
A feature says what the software does. Evidence shows why the statement is trustworthy. A limit marks where the current implementation stops. Mixing the three produces vague case studies; separating them gives reviewers a faster way to evaluate the work.
For example: ‘supports quoted CSV fields’ is a feature; a parser test covering quoted commas is evidence; ‘does not infer data types yet’ is a limit. None weakens the project. Together, they make its state legible.
Use tests as evidence, not decoration
A test count is useful only when readers can tell what the tests protect. Instead of writing ‘seven tests passed’ alone, summarize the important behaviors: quoted fields, alternate delimiters, uneven rows and column summaries.
Not every interface detail needs an automated test in a one-day project. Test deterministic logic, run syntax or type checks, and manually review responsive and keyboard behavior. Report each check accurately rather than collecting badges that do not explain quality.
- Name the behaviors covered by automated tests.
- Distinguish local checks from hosted preview checks.
- Do not claim accessibility compliance from a visual review alone.
- Record known gaps that need browser, device or user testing.
Publish a case study that a reviewer can scan
The website version should add context rather than repeat the README word for word. Lead with the problem and result, show the real interface or an accurate diagram, explain a few implementation decisions, and link back to the runnable repository.
Keep the publication date, technology tags and project status visible. If an image is illustrative, describe it that way. If the build processes data only in the browser, say so only when the code actually confirms that behavior.
- Problem and scope in the opening screen.
- Two or three decisions that shaped the implementation.
- Evidence: repository, tests, preview or live build.
- Limits and one sensible next improvement.
The honest version is easier to maintain
Clear documentation lets a small build stand on its own. A visitor knows why it exists, how to run it, which claims are supported and what remains unfinished. When the project grows, those same boundaries make updates easier to explain.
Document the build you have today. Let the repository, tests and decisions carry the story—and let the next iteration earn the next claim.