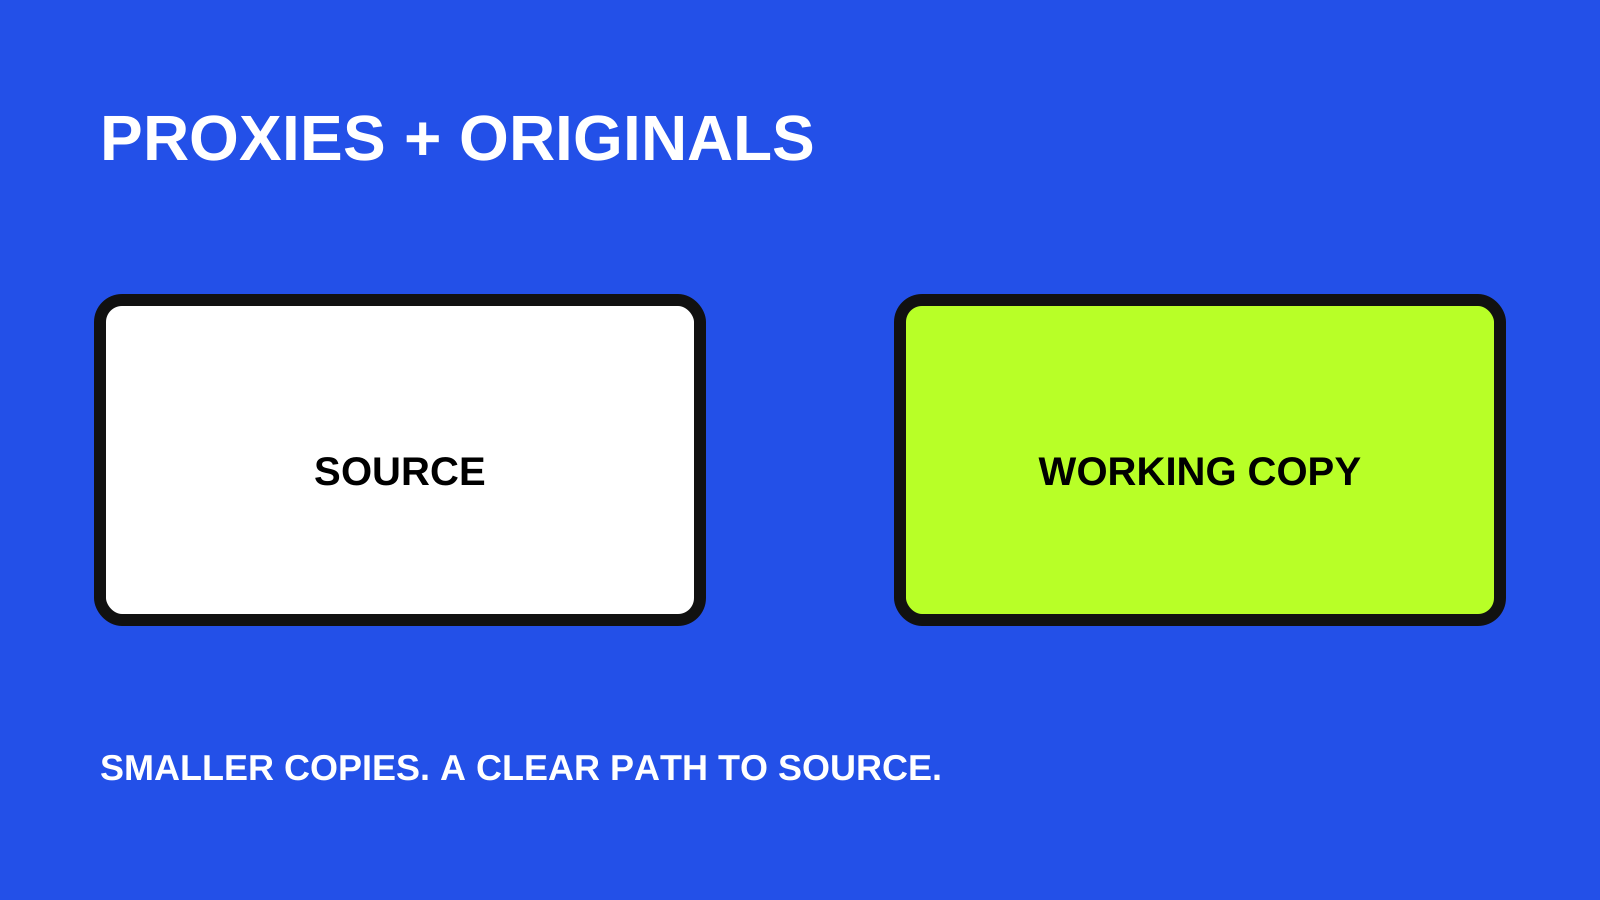
A smaller editing copy needs a reliable link
High-resolution footage can make a timeline awkward to navigate on a modest editing computer. Proxy media gives you a smaller working copy while the camera files remain available for finishing. The useful part is the relationship between those copies, not simply making every video smaller.
This guide describes a cautious desktop Premiere workflow for a small project. It does not promise a particular playback improvement: codec, effects, storage and the computer all affect editing. Start with one representative clip before generating proxies for an entire shoot. No client project or measured performance result is claimed here.
1. Give originals and proxies different jobs
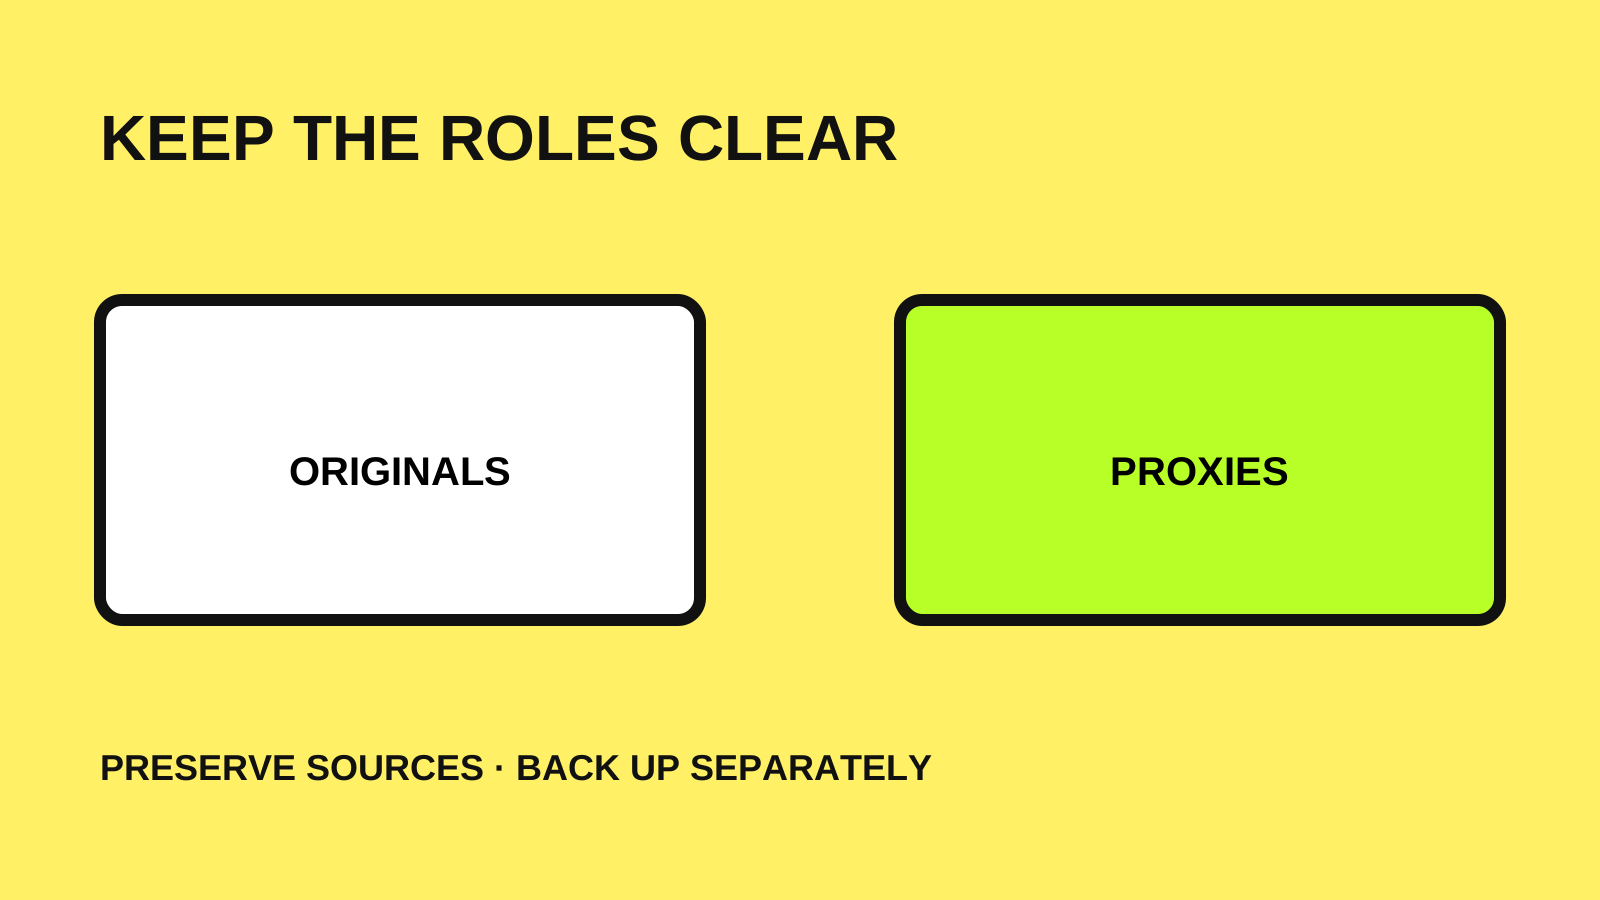
Treat the camera files as source material to preserve. Treat proxies as replaceable editing derivatives. A proxy is not a second original, and making one does not replace a verified backup of the source footage.
Use a simple folder plan such as Project/Originals, Project/Proxies, Project/Edit and Project/Exports. The names are a suggested organization scheme, not a Premiere requirement. Keep a short note identifying where the full-resolution files live and how the editing copy relates to them.
If two cards contain the same clip filename, keep their card or shoot identity visible in the folder structure. Avoid a last-minute batch rename after importing media. Before reorganizing existing files, make a recoverable copy of the project and plan how links will be restored.
2. Create and attach a small test set
Import the intended full-resolution source clips, select a representative clip in the Project panel, and use Premiere's Proxy > Create Proxies command. Choose an appropriate preset and destination, then allow Adobe Media Encoder to complete the job. Adobe's current guide explains the available creation options; menu details can change between releases.
If someone has already generated proxies, use the dedicated Attach Proxies workflow rather than assuming that importing the smaller files as ordinary footage establishes the source relationship. Record which source clip each attached proxy represents.
Check the beginning, middle and end of the test clip while switching between proxy and full-resolution display. Confirm that the picture, duration and audio stay aligned. Use footage with movement and sound, not only a static frame. If the test fails, fix the mapping or proxy settings before processing the remaining clips.
3. Keep the editing mode visible
Use Premiere's Toggle Proxies control to compare the working copy with the full-resolution source. Make it a habit to know which media you are viewing when judging focus, noise, fine text or a detailed crop. A low-resolution preview is useful for timing decisions but may hide details you need to inspect in the source.
Keep proxy generation separate from creative changes. Changing the sequence framing, applying an effect and replacing a proxy at the same time makes a mismatch harder to investigate. When something looks wrong, first compare one clip with its source before changing the whole sequence.
For a project handoff, include a short media map: project-file location, original-media root, proxy root and any missing-media warnings. Share only the files and access the recipient is authorized to receive. A screenshot of the timeline alone does not explain how to reconnect a project.
4. Reconnect and inspect before the final export
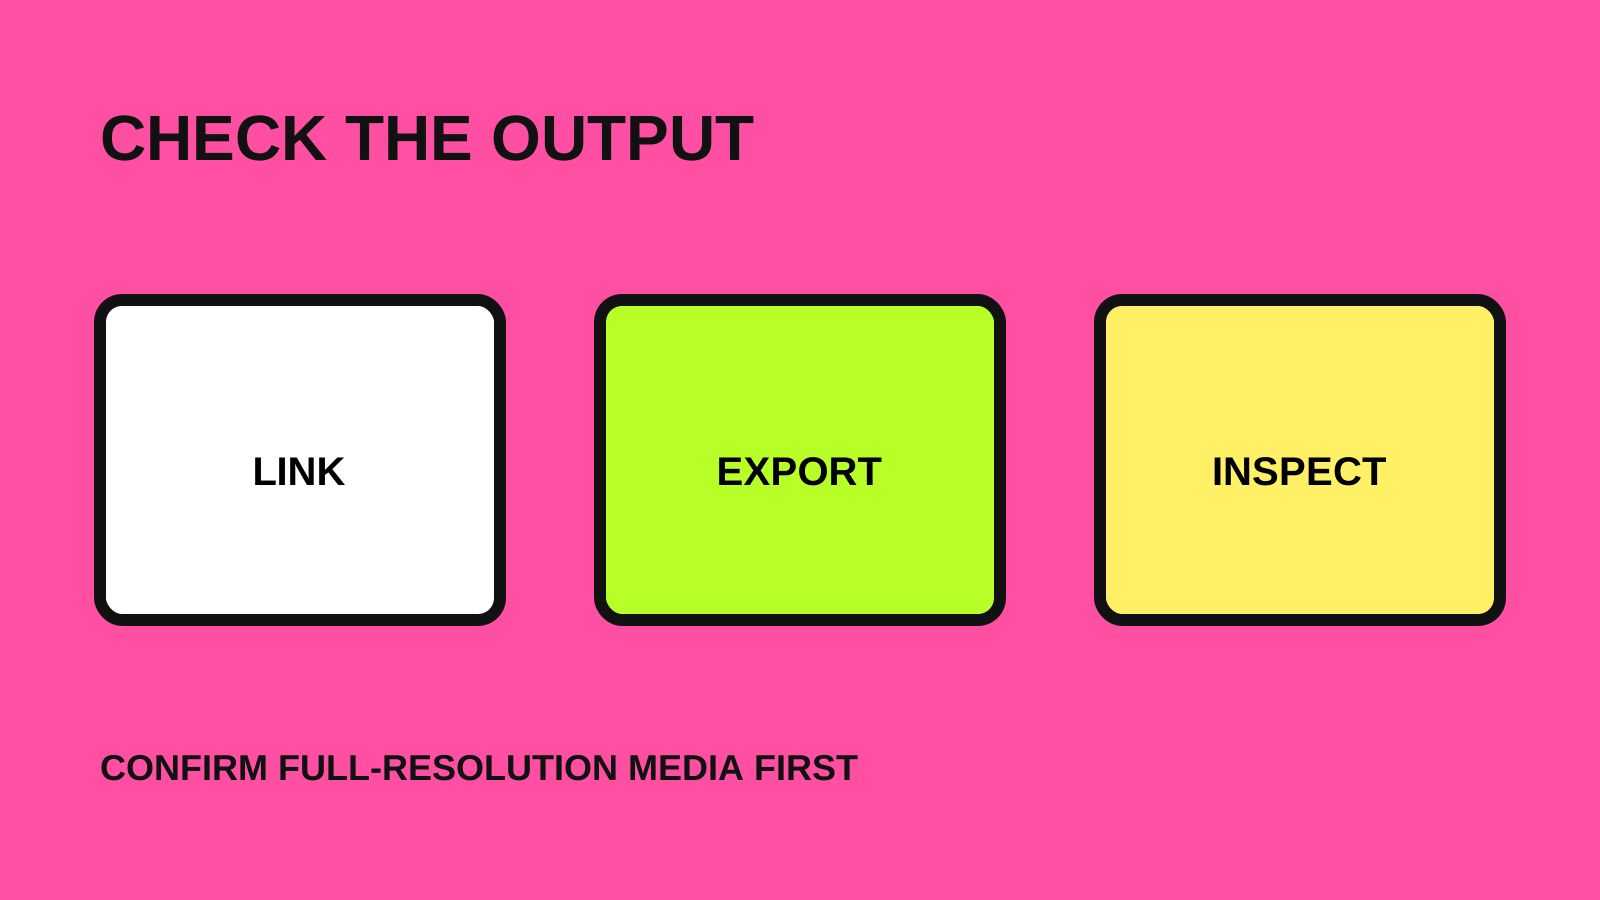
Before finishing, make the full-resolution files available and resolve missing-media warnings. Adobe documents Proxy > Reconnect Full Resolution Media for reconnecting source media when working from proxies. Check the selected file carefully; a matching name alone is weak evidence when several folders contain repeated camera filenames.
Premiere normally uses full-resolution media for export even when proxies are enabled for editing. Adobe also provides an explicit option to export using proxies. Review that choice rather than assuming the monitor toggle determines the export source.
Export a short representative section first. Check the resulting file outside the editor for framing, sharpness, audio and the intended delivery dimensions. Increasing output dimensions cannot restore detail absent from the selected source. Then review the final export settings again before rendering the complete program.
5. Archive the project with its dependencies in mind
After delivery, preserve the project file and the source material needed to rebuild the edit according to your retention plan. Keep the media map with them. If storage is tight, do not delete a folder merely because its name contains Proxy; confirm its role and that the source media and project links are recoverable first.
Reopening a copy of the archived project is a useful final check. Confirm that the expected source media is available and that a representative section still renders. Proxies may be regenerated when the originals and settings are retained, but an incomplete archive cannot recreate camera detail that was discarded.
Keep the speed-up reversible
A dependable proxy workflow leaves a clear path back to the source: preserve originals, create or attach a tested proxy set, keep the viewing mode visible, and inspect a source-based export before delivery. The first small test is more useful than discovering a mapping problem after every clip has been processed.
Try the process on one non-sensitive clip you control. For a broader production or media-handoff workflow, the motion-design and contact pages provide a place to discuss the requirements. Adobe documentation was checked on October 17, 2026.